使用C#接入DeepSeek API实现自己的AI助手
过年期间DeepSeek非常火爆,这段时间用着官方的客户端访问,总是会提示“服务器繁忙,请稍后再试。”,本文介绍怎么通过接入DeepSeek的API实现自己的客户端。
DeepSeek开放平台获取 API Key
首先我们需要登录DeepSeek的开放平台,在开放平台上进行API Key的申请。
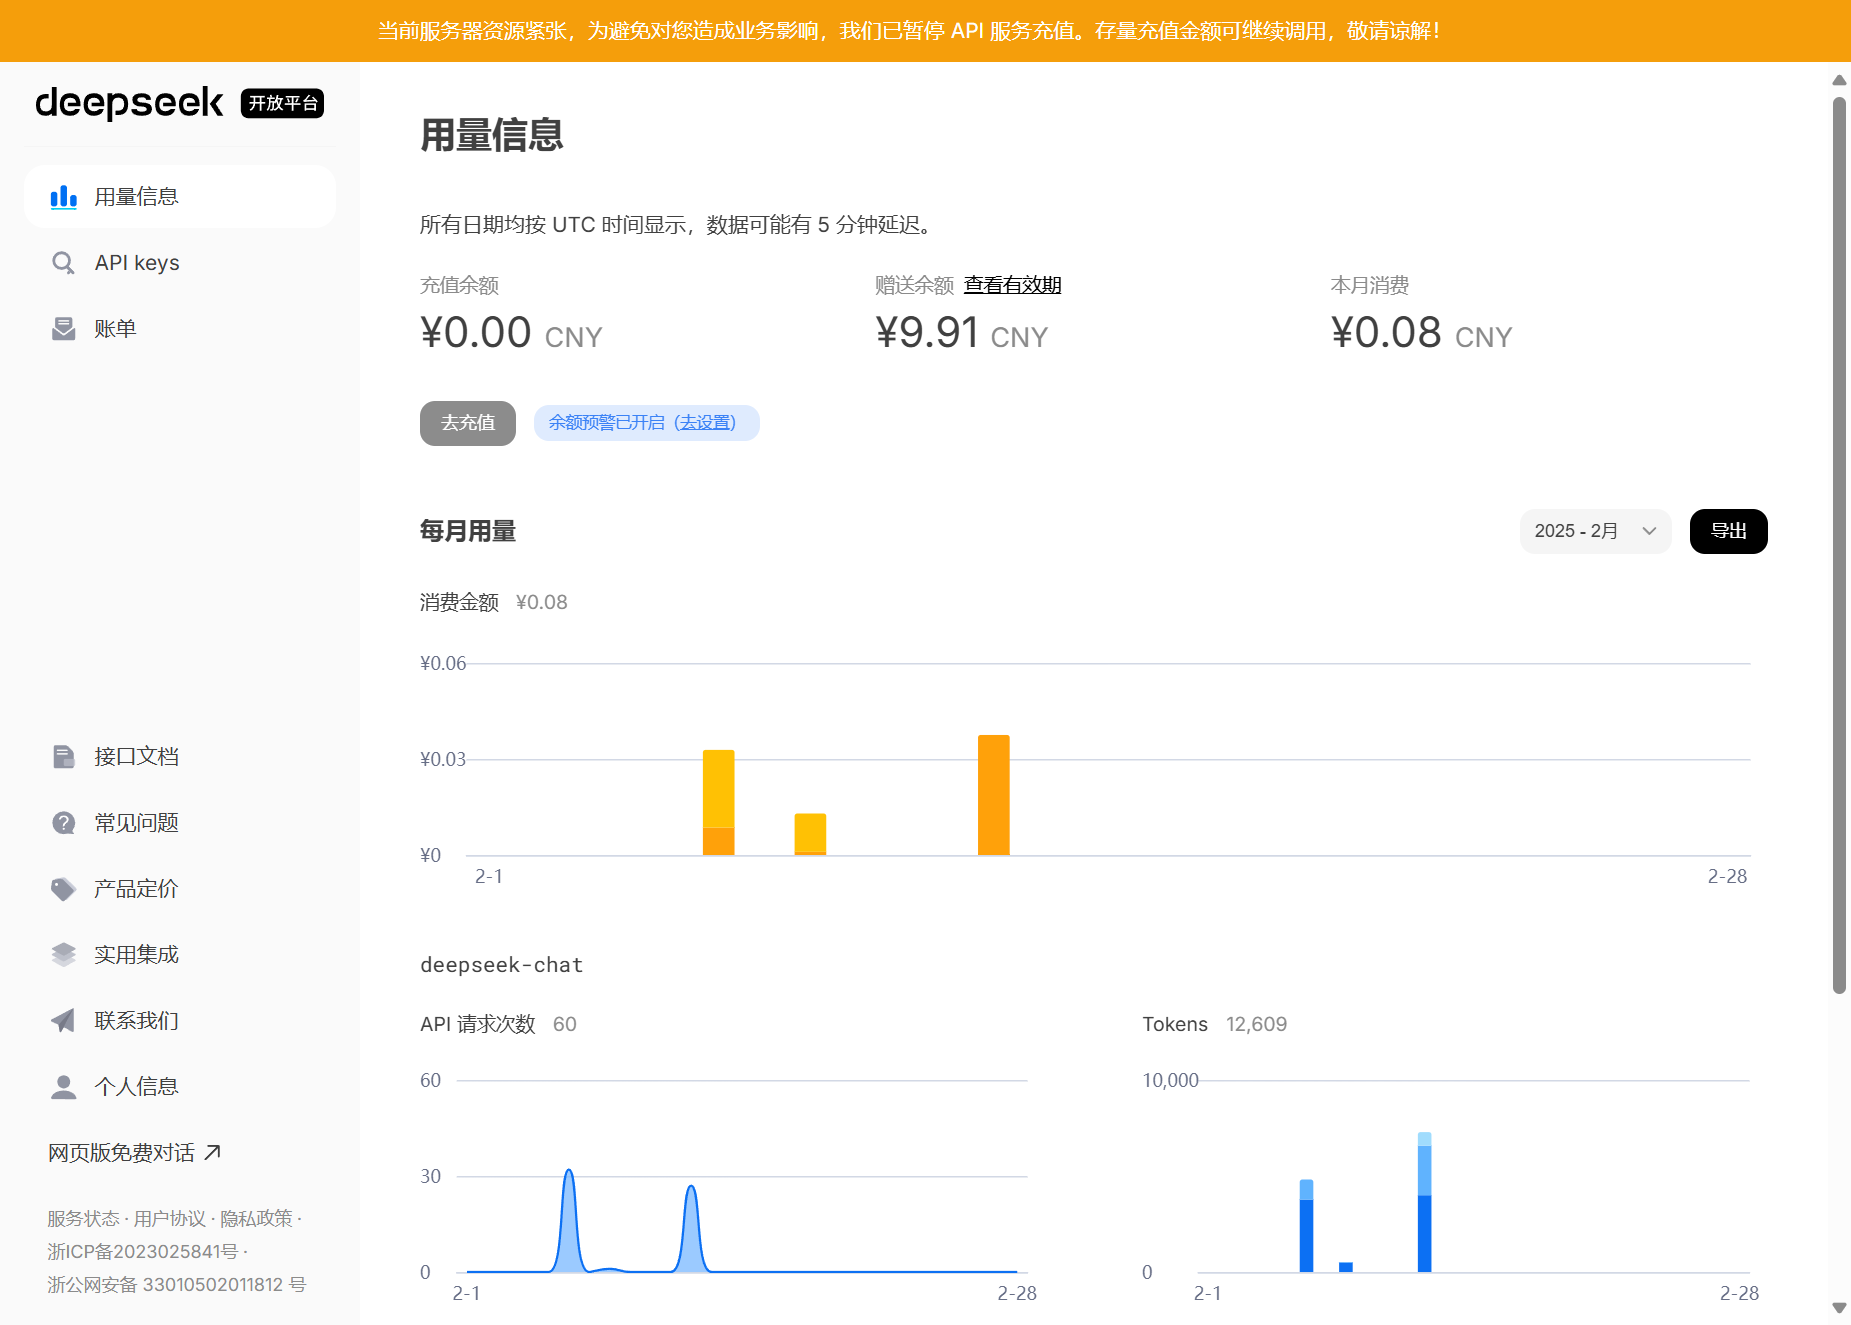
在浏览器中访问 https://platform.deepseek.com,即可进入开放平台,首页为”用量信息“,展示我们的用量和余额,并且以图表形式展示每天的使用情况。
点击菜单项”API Keys“,可以查看我们所有创建的API Key,点击页面上的“创建 API Key”按钮,在弹出的窗口中输入一个方便记忆的名称,点击“创建”即可。
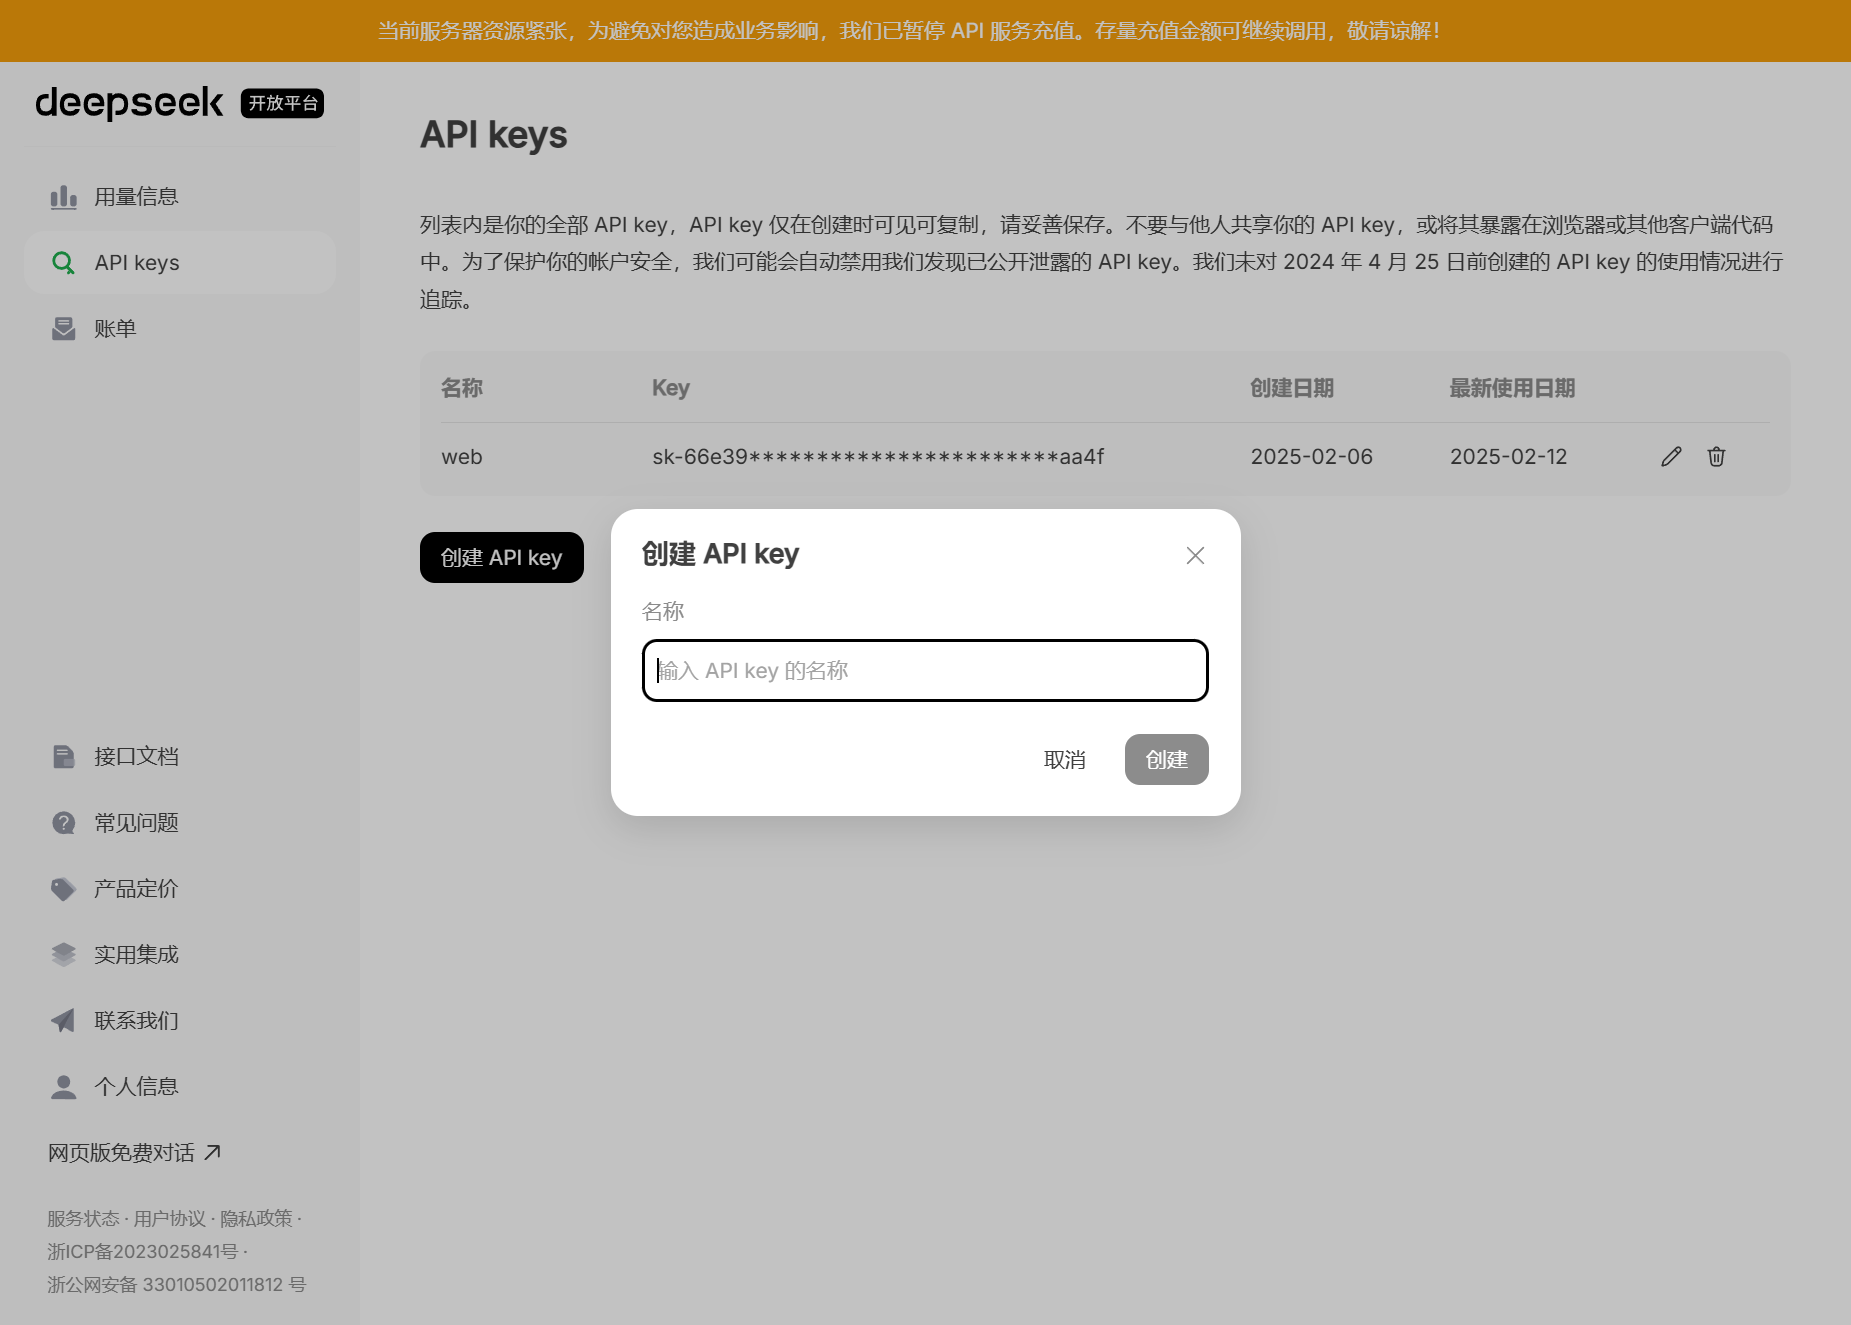
需要注意的是,当我们创建好 API Key 之后,需要复制一下,之后则无法重新查看,如果忘记的话只能删除重新创建。
接入
使用任意IDE创建一个新的 .Net 项目,根据文档我们先构建几个模型类,用来存储数据
// 消息类,用来承载发送和收到消息
class Message
{
    [JsonPropertyName("role")]
    public string Role { get; set; }
    [JsonPropertyName("content")]
    public string Content { get; set; }

}

// 请求类,用来发送请求
class ChatRequest
{
    [JsonPropertyName("model")]
    public string Model { get; }
    [JsonPropertyName("messages")]
    public List<Message> Messages { get; }
    [JsonPropertyName("plugins")]
    public string[] Plugins { get; }
    [JsonPropertyName("stream")]
    public bool Stream { get; }
    [JsonPropertyName("temperature")]
    public double Temperature { get; }

    public ChatRequest(string model, List<Message> messages, string[] plugins, bool stream, double temperature)
    {
        Model = model;
        Messages = messages;
        Plugins = plugins;
        Stream = stream;
        Temperature = temperature;
    }
}
响应类型比较复杂,先不使用模型类,到时候直接通过解析 json 数据获取。
接下来开始发送请求。使用 HttpClient 来操作。DeepSeek可以启用流式输出,如果不启用流式输出,在发送请求之后,DeepSeek会把回答的所有内容都生成完毕之后才会返回,需要很长时间的等待,效果不太友好,启用流式输出之后,DeepSeek会在生成token之后立即返回,呈现的效果就是逐字回答。
下面的代码中启用了流式输出,对于流式输出,需要多加几个判断,比如在返回有效 token 时,DeepSeek会加上 data; 前缀,当生成停止时,DeepSeek会发送 [DONE],在生成卡顿时则会发送 keep-alive 来告诉客户端继续等待。
string apiKey = "sk-********************"; // 替换为你的 API 密钥
string apiUrl = "https://api.deepseek.com/v1/chat/completions";
using var httpClient = new HttpClient();
httpClient.DefaultRequestHeaders.Add("Authorization", $"Bearer {apiKey}");
var messages = new List<Message>() {
new Message{ Role = "system", Content = "你是一个编程助手。" }
};
while (true)
{
Console.ForegroundColor = ConsoleColor.Green;
var input = Console.ReadLine();
messages.Add(new Message { Role = "user", Content = input });
// 构造请求体
var requestBody = new ChatRequest("deepseek-chat", messages, ["web_search"], true, 0.7);
// 发送请求
var content = new StringContent(JsonSerializer.Serialize(requestBody), Encoding.UTF8, "application/json");
var request = new HttpRequestMessage(HttpMethod.Post, apiUrl) { Content = content };
using var response = await httpClient.SendAsync(request, HttpCompletionOption.ResponseHeadersRead);
// 确保请求成功
response.EnsureSuccessStatusCode();
// 读取流式响应
using var stream = await response.Content.ReadAsStreamAsync();
using var reader = new System.IO.StreamReader(stream);
var msg = new Message { Role = "assistant", Content = "" };
while (!reader.EndOfStream)
{
var line = await reader.ReadLineAsync();
if (!string.IsNullOrEmpty(line))
{
Console.ForegroundColor = ConsoleColor.Yellow;
if (line.Contains("DONE"))
{
Console.WriteLine();
break;
}
if (line.StartsWith("data:"))
{
Console.ForegroundColor = ConsoleColor.White;
line = line.Substring(5);
// 解析 JSON 数据
var jsonDocument = JsonDocument.Parse(line);
var choices = jsonDocument.RootElement.GetProperty("choices");
foreach (var choice in choices.EnumerateArray())
{
var delta = choice.GetProperty("delta");
if (delta.TryGetProperty("content", out var contentElement))
{
var ac = contentElement.GetString();
msg.Content += ac;
Console.Write(ac); // 输出增量内容
}
}
continue;
}
Console.WriteLine(line);
}
}
// 收到的消息继续添加进消息列表,实现上下文联系
messages.Add(msg);
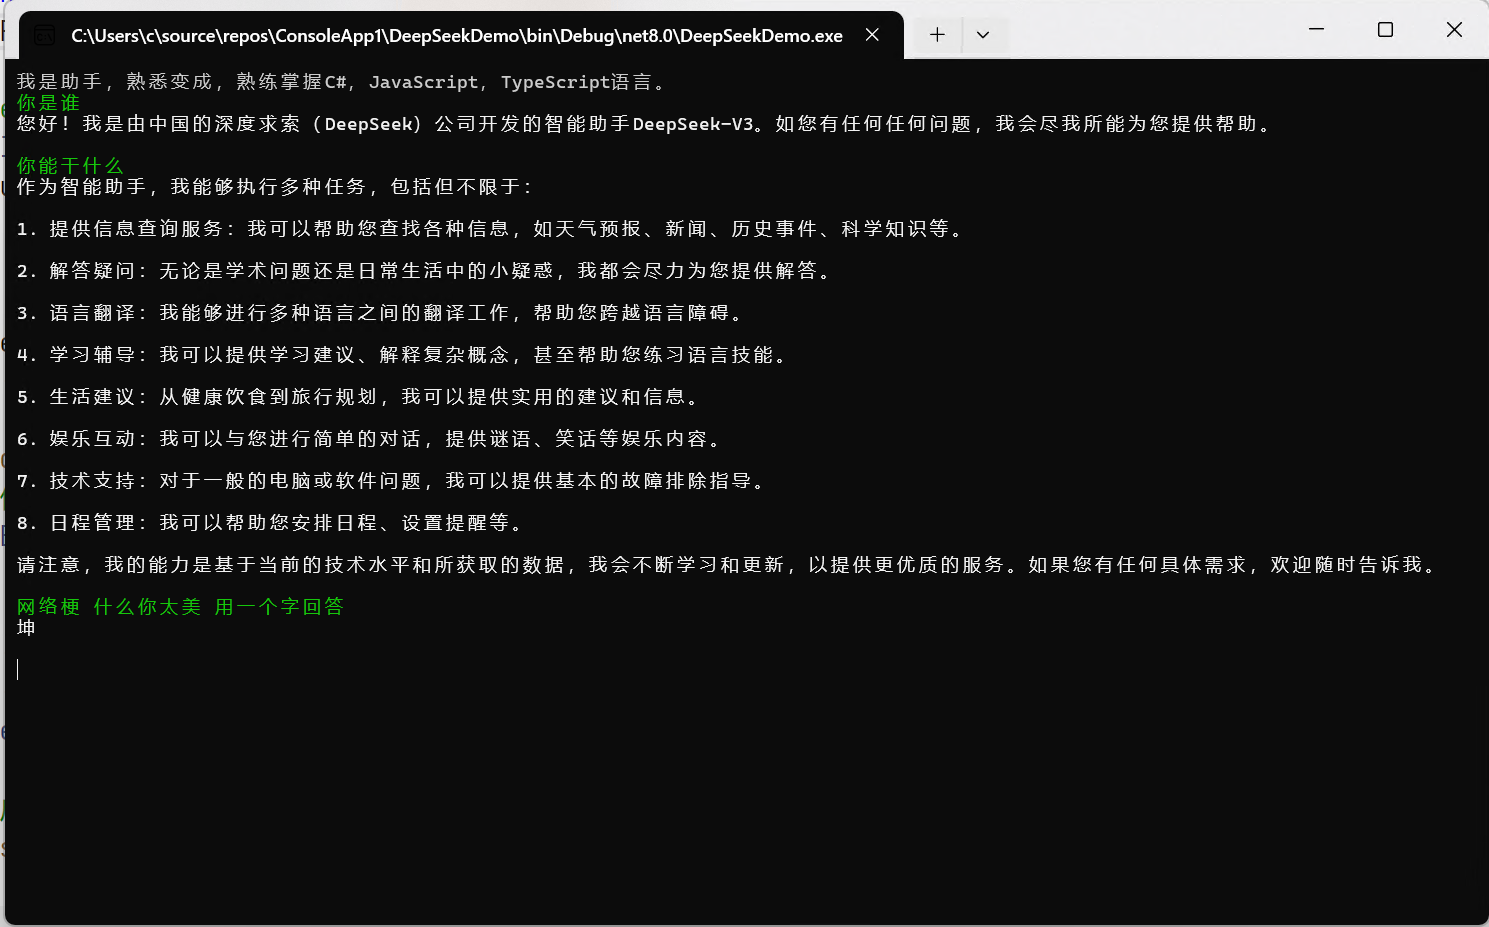
}
这样我们就有了一个AI助手,下面体验一下效果,👍针不戳